


If you’ve ever dreamed of producing professional-quality music, podcasts, or voiceovers from your own space, you’ve probably wondered: “How do I build the right recording studio without breaking the bank?”
The truth is, you don’t need a million-dollar setup to create great sound—you just need the right setup for your goals, your space, and your budget. Whether you’re a musician recording your next EP, a podcaster aiming for crisp audio, or a voice actor building a home booth, this guide will help you make smart, cost-effective decisions every step of the way.
1. Start with a Clear Purpose: What Are You Recording?
Before buying your first microphone or sound panel, define what kind of recording you’ll be doing. This decision determines everything else—your space, gear, and even software.
-
Music Production: You’ll need to accommodate multiple instruments, possibly live tracking, and mixing capabilities.
-
Podcasting or Voice Work: You can focus more on clarity, acoustics, and simplicity rather than multi-instrument setups.
-
Content Creation or Streaming: Prioritize flexibility—quality audio, video integration, and easy editing workflows.
💡 Pro tip: Write down your top 3 recording goals. Clarity here will prevent costly detours later.
2. Choose the Right Space: The Room Matters More Than You Think
One of the biggest mistakes beginners make is focusing only on equipment. In reality, the room itself plays the biggest role in sound quality.
-
Room Size: Avoid very small, square rooms—they create unwanted reflections and bass buildup.
-
Noise Isolation: Choose a quiet space away from street noise or household traffic.
-
Surfaces: Hard surfaces reflect sound; soft furnishings help absorb it naturally.
If you’re on a budget, simple hacks can dramatically improve sound quality:
-
Hang thick curtains or blankets on walls to reduce echo.
-
Add rugs or foam panels to absorb reflections.
-
Use bookshelves filled with books as natural diffusers.
💡 Pro tip: Record a short clip and listen back. If you hear reverb or echo, treat the room before upgrading your gear.
3. Budgeting Smart: Where to Spend and Where to Save
Your budget doesn’t have to be huge—it just has to be strategic. Here’s how to break it down:
Spend More On:
-
Microphone: Your mic defines your sound. A good condenser mic (like the Audio-Technica AT2020 or Rode NT1-A) gives professional clarity without costing thousands.
-
Audio Interface: This is the bridge between your mic and your computer. Brands like Focusrite or PreSonus offer affordable, high-quality options.
-
Headphones or Monitors: Flat-response headphones (like Audio-Technica M50x) help you hear true sound for mixing.
Save On:
-
Cables and Stands: Affordable options work fine as long as they’re sturdy.
-
Acoustic Panels: DIY with foam, fabric, and wooden frames—same results at half the cost.
-
Software: Start with free or affordable DAWs like Audacity, GarageBand, or Reaper.
💡 Pro tip: Start minimal. Upgrade gear as your skills and income grow.
4. Essential Equipment Checklist (for Any Budget)
No matter your setup, these are the core components every recording studio needs:
-
Microphone – Choose condenser for vocals/instruments, dynamic for podcasts/live.
-
Audio Interface – Converts analog sound to digital.
-
Computer – At least 8GB RAM and SSD storage for smooth recording.
-
Digital Audio Workstation (DAW) – Software for recording and editing.
-
Headphones/Studio Monitors – Accurate sound monitoring is essential.
-
Cables, Mic Stand, and Pop Filter – Small but vital for quality and comfort.
-
Acoustic Treatment – Panels, diffusers, or portable vocal booths to control reflections.
For entry-level setups, expect to spend between $500–$1,000. A mid-range studio with monitors, higher-end mics, and treated acoustics may cost $1,500–$3,000.
Professional setups with dedicated space can go beyond $5,000, but many successful creators started with far less.
5. Acoustic Treatment: The Secret to Studio-Quality Sound
Even the best gear can’t fix a bad-sounding room. That’s why acoustic treatment—not to be confused with soundproofing—is crucial.
-
Bass Traps: Control low-frequency buildup in corners.
-
Absorption Panels: Reduce echoes and midrange reflections.
-
Diffusers: Scatter sound to create a balanced tone.
💡 Budget tip: DIY acoustic panels using rock wool insulation, fabric, and wooden frames—effective and affordable.
If you’re renting or can’t modify your walls, consider a portable vocal booth or reflection filter that surrounds your microphone.
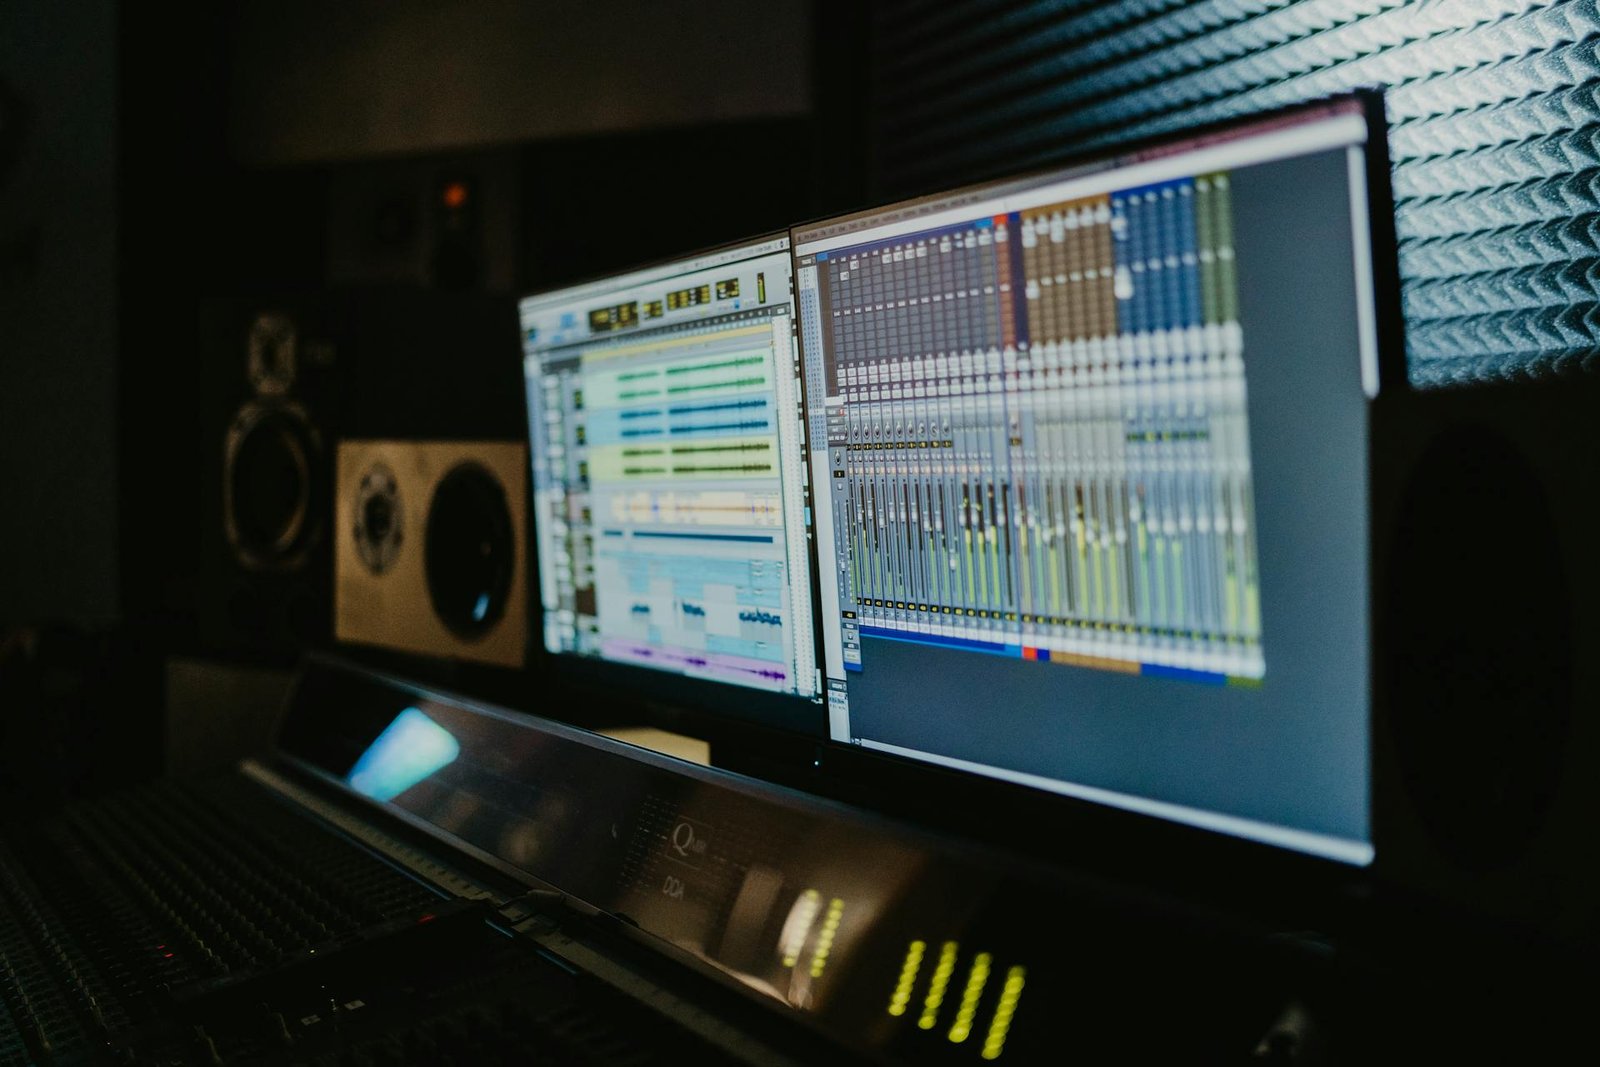
6. Choosing the Right Software: DAWs and Plugins
Your Digital Audio Workstation (DAW) is your creative hub. Each has its strengths:
-
GarageBand (Mac) – Free and beginner-friendly.
-
Audacity (Windows/Mac) – Great for podcasts and voice recording.
-
Reaper – Fully featured and affordable.
-
Ableton Live, Logic Pro, or Pro Tools – Best for advanced music production.
Once comfortable, explore plugins—effects, virtual instruments, and tools that enhance your sound. But remember: great recordings come from skill, not just software.
7. Scaling Up: When (and How) to Upgrade Your Studio
As your experience and ambitions grow, your studio should evolve too. Signs it’s time to upgrade:
-
You’re recording clients or collaborators regularly.
-
You’re hitting the limits of your current gear or software.
-
You need higher fidelity for commercial releases.
Upgrades to consider:
-
Dedicated studio monitors for accurate mixing.
-
External preamps or mixers for cleaner signal flow.
-
Soundproof booth or custom acoustic design for professional quality.
💡 Pro tip: Invest incrementally—prioritize what directly improves your output first.
8. Final Touch: Setting Up for Creativity
A recording studio should inspire creativity, not just capture it.
Keep it clean, organized, and designed to fit your workflow.
Add personal touches:
-
Warm lighting
-
Plants or artwork
-
Ergonomic furniture
When your studio feels like your space, you’ll create more often and with more passion.
Conclusion: Build the Studio That Works for You
Building the right recording studio isn’t about spending the most money—it’s about understanding your goals and making intentional choices.
Start small, focus on acoustics, and grow over time. Every great producer, podcaster, and creator began with the same question: “How do I make my sound better?”
Now you have the roadmap to do just that—affordably and effectively.
🎙️ Ready to start your studio journey?
Begin with one corner, one mic, and one idea. Your perfect sound is closer than you think.